In an ideal scenario, your attendees will enter the correct details when they first register for your event.  However, there are instances where an attendee needs to change there registration details.  These changes may include:
- Changing the attendees registration and/or invoice details
- Cancelling the registration
- Cancelling an invoice
This tutorial will provide a walk through for the above scenarios.
Changing Attendees Registration and/or Invoice Details
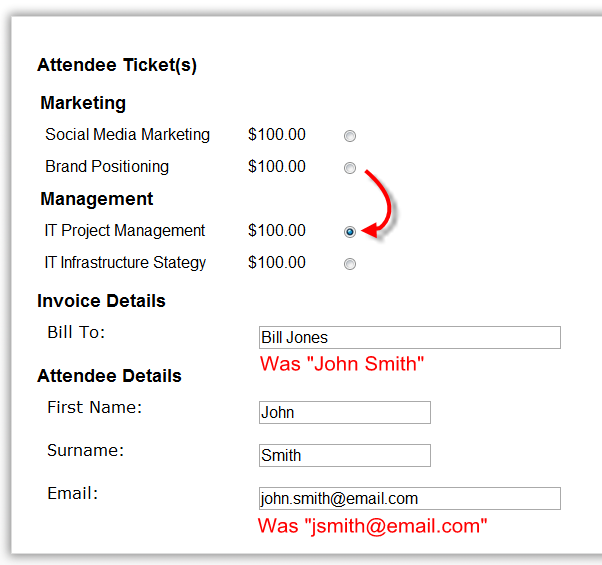
This process allows an Event Gate administrator to ability to modify an attendees registration details, including which tickets they have selected and the name of the person or organisation who is to receive the invoice.
To change the attendees registration details:
- On your events list view, click the “Attendees List” icon

- Find the attendee who’s details you wish to change

- Make any edits necessary to the attendees registration and click the save button

- You will be prompted if you wish to view and/or resend the invoice for this registration.  Resending the invoice ensures that the attendee has a copy of the corrected details.  This is especially important if you have altered which ticket(s) for which they have registered as this may affect the invoice total.  If this is the case, you will to arrange for a mechanism to collect the difference (either a refund or a request for payment).  Note, this process is not handled within Event Gate.
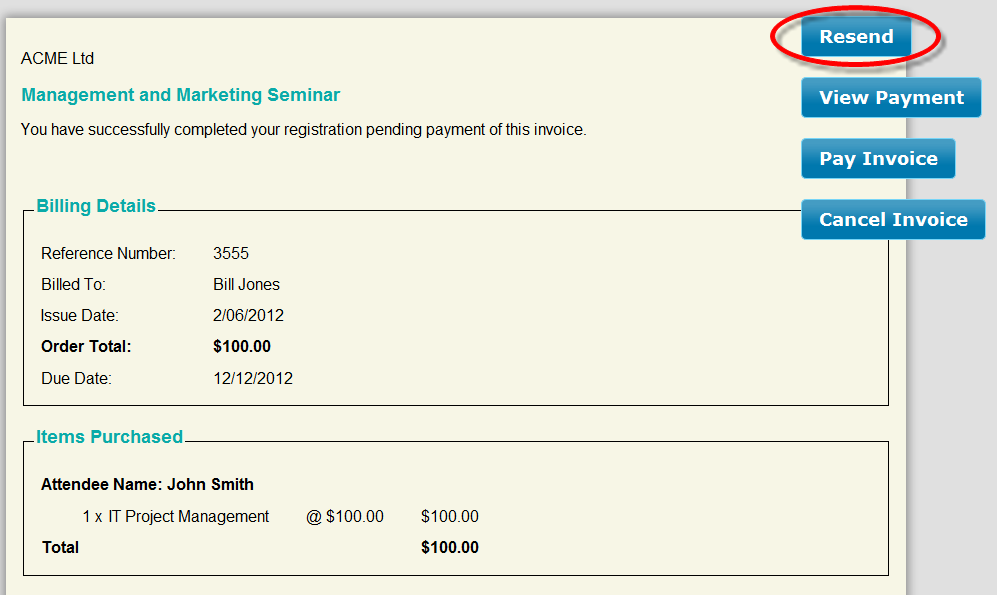
- On viewing the invoice you will see that it has been updated to reflect the changes made.
- OnceΓö¼├ísatisfiedΓö¼├íthat the registration has been correctly updated, click the “Resend” button to resend the invoice to the invoicee.

Cancelling Registrations
To cancel an event registration:
- On your events list view, click the “Attendees List” icon

- Find the attendee who’s registration you wish to cancel
- Click the Cancel icon, then click “Yes” to confirm

Note: If the associated invoice on has one registration (the one we just cancelled), you will be prompted to cancel the invoice associated with the registration.  Cancelling the invoice is the appropriate action if you do not wish to pursue registration payment due to cancellation.
If the associated invoice still has other registrations associated, you will be prompted to resend the invoice, since the invoice details will have changed.
Cancelling an Invoice
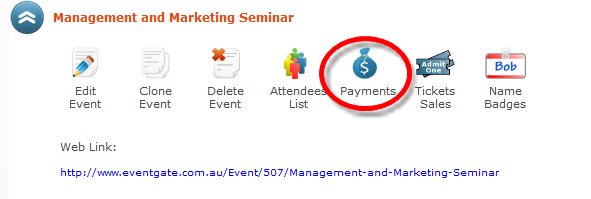
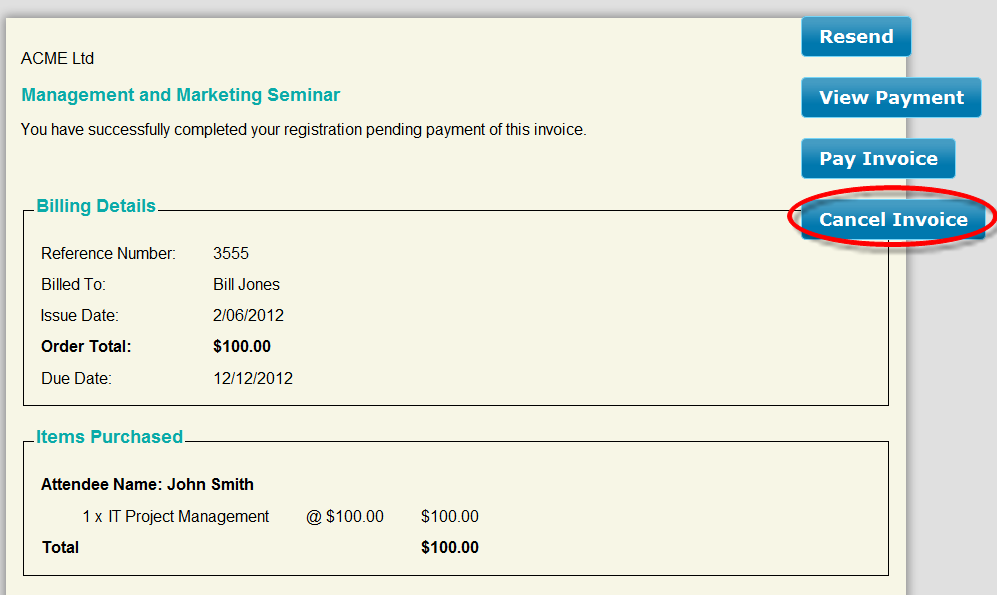
To cancel an invoice:


